
Overview
AWS Organizations help manage multiple AWS accounts under one entity. With this feature, you can organize accounts, apply security policies, and optimize billing.
Prerequisite
Before starting, ensure you have:
- AWS accounts
- Legitimate (valid) email address
Implementation
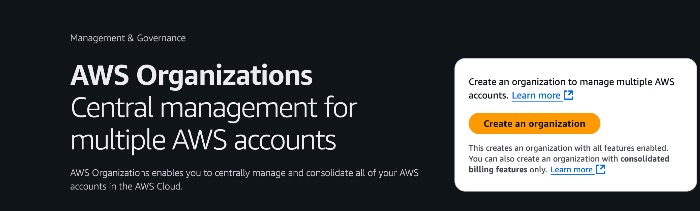
Create AWS Organization
We need to create an organization first as the root.
Go to AWS Organizations, then choose Create an Organization.
Need to wait for a moment, and we will find the organization created.
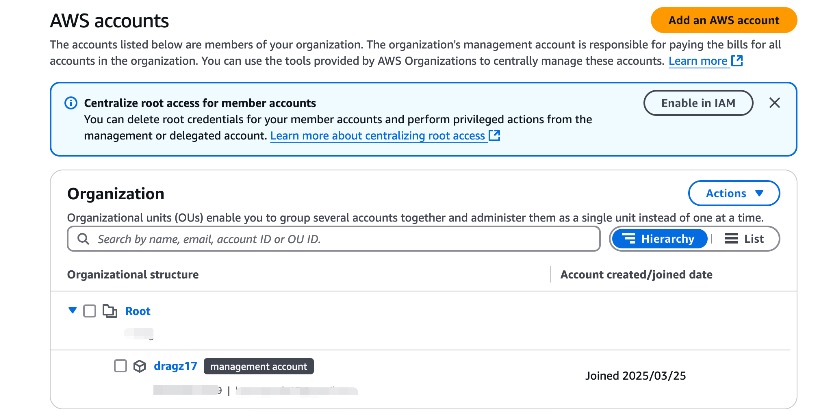
Organization structure filled by root and current AWS user account as management account.
Add AWS Accounts
For the new accounts, we can add them by going to AWS accounts and choosing Add an AWS account.
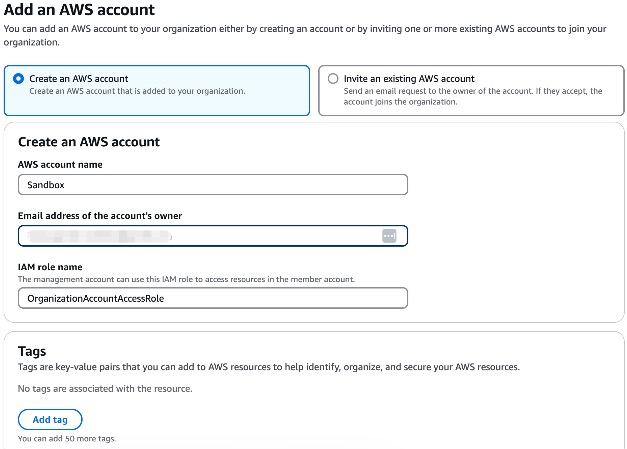
We need to provide a valid email address, an optional message to include in the invitation email, and optional tags.
The account name can be set freely, similar to a username in the AWS console. For example, we can use “sandbox” to indicate a testing environment.
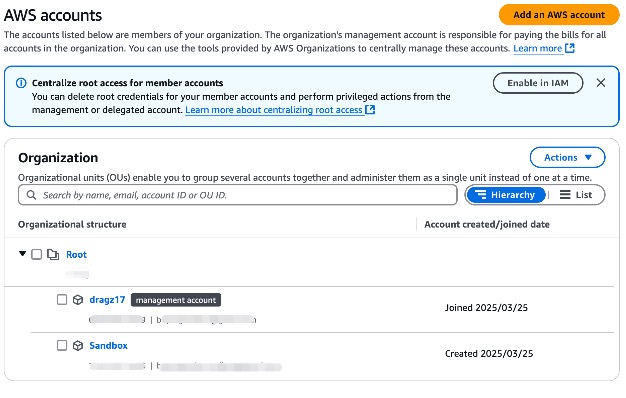
Look! the new AWS account have been added to root account as default.
Invite Existing Accounts
To invite an existing AWS account, navigate to AWS accounts → Invitations or click Add an AWS account and select Invite an existing AWS account.
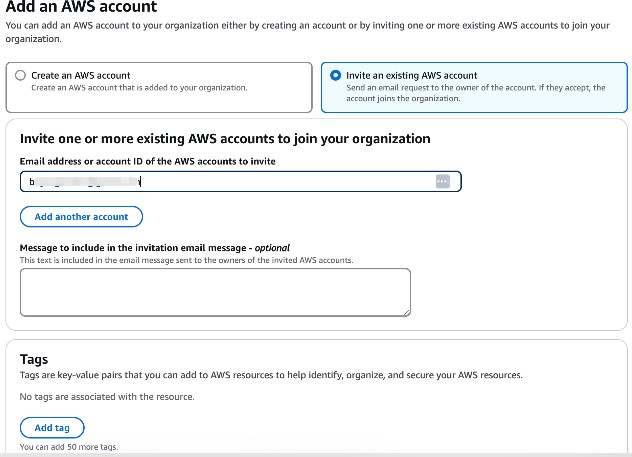
We just required to fill valid email address, message to include in email (optional) and tags (optional).
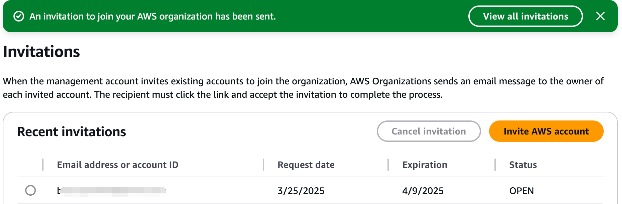
Find the invitation from email! Once the invitation is accepted, the account will be listed under the root organizational structure.
Note: Ensure that the provided email address is associated with an existing AWS account. If the recipient does not have an AWS account, they must create one before accepting the invitation.
Manage Accounts with Organizational Units (OU)
Create Organizational Units (OU)
To manage accounts with Organizational Units, we need to create a new Organizational Unit first. In AWS Organization structure → tick Root → Actions → select create new on the organizational unit section
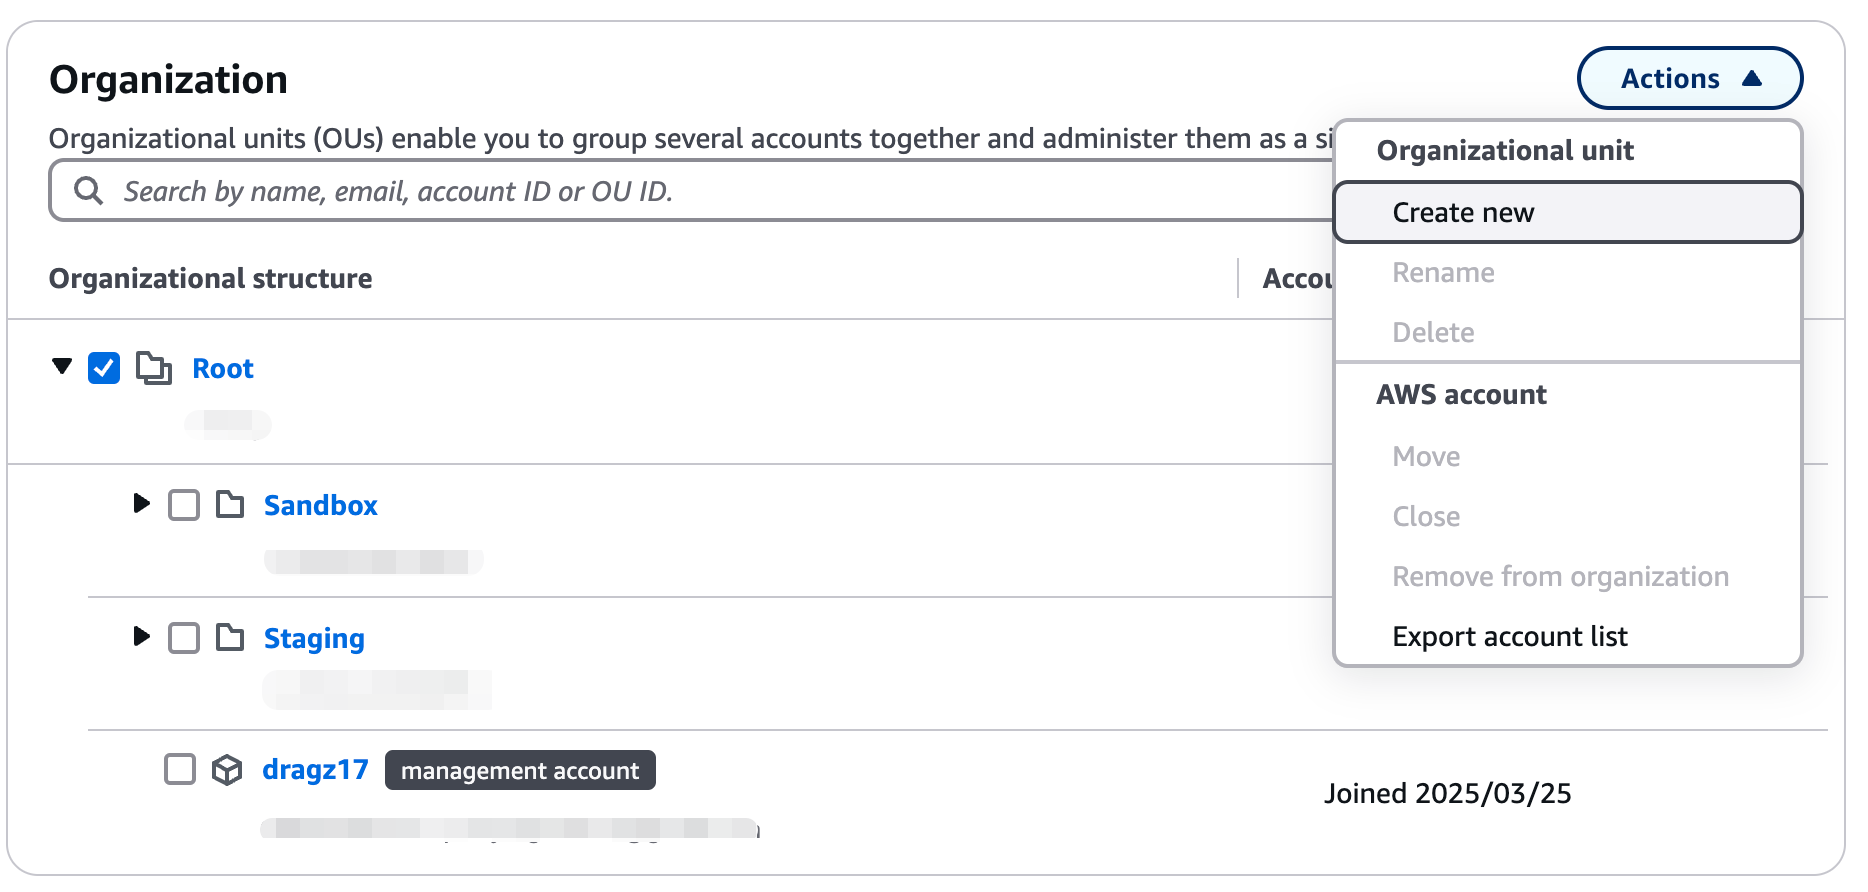
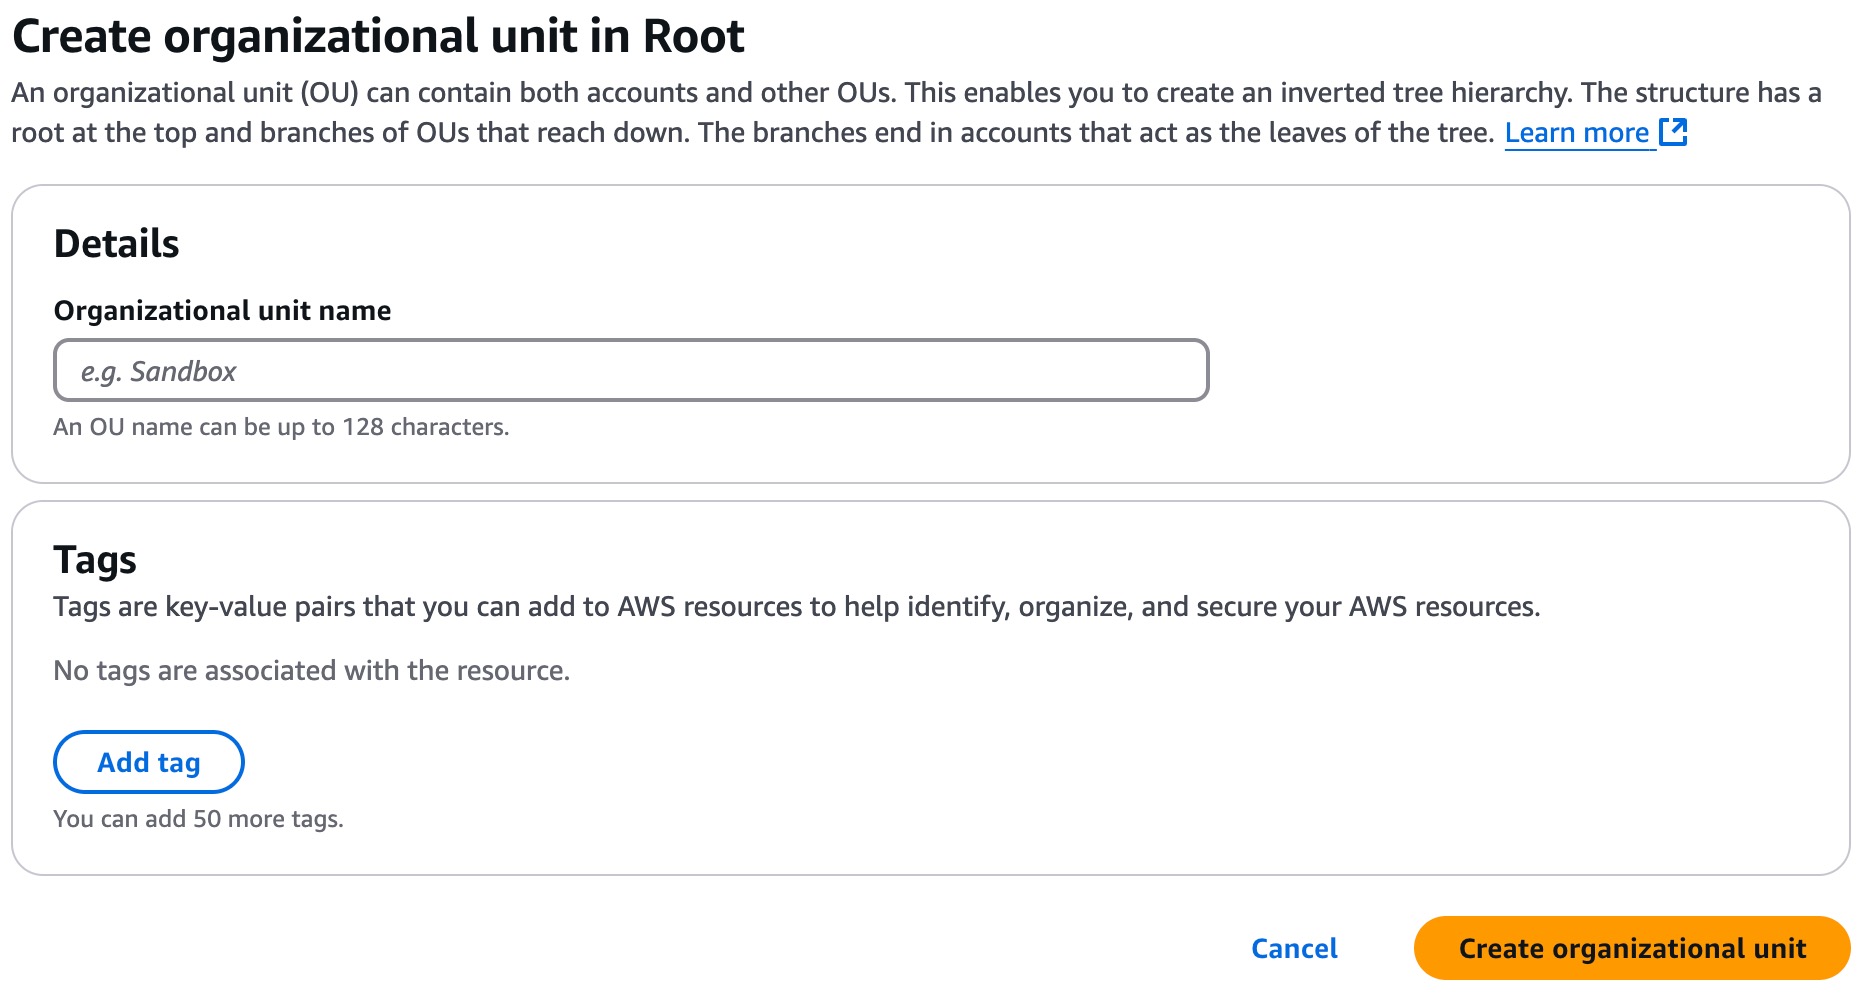
Now, we have 2 new organizational units: “Staging” and “Sandbox“.
Move account to Organizational Units (OU)
To improve management and policy enforcement, we need to group accounts based on their function. Since we have a new Organizational Unit (OU) and AWS accounts, let’s assign the accounts to the new Organizational Units (OU).
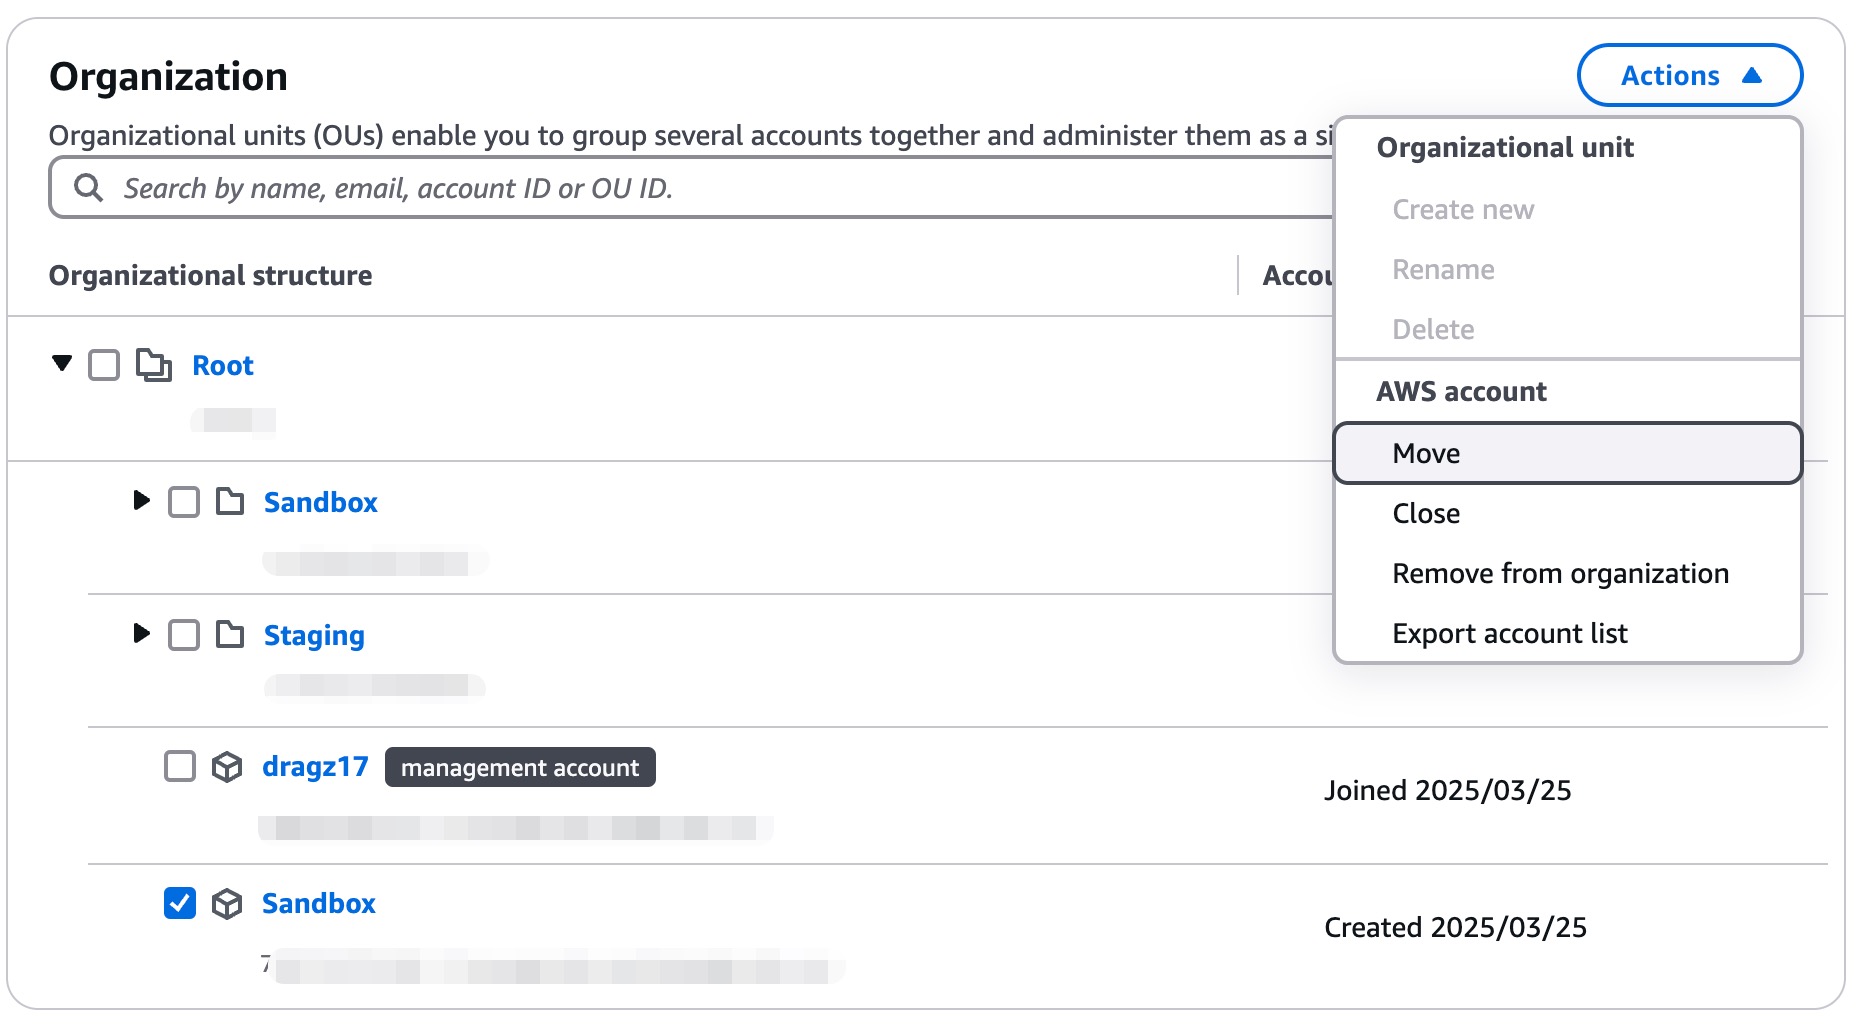
We just need to tick the account “Sandbox”, Actions → select Move on AWS account section. Choose target Organizational Units (OU) [Sandbox] → click Move AWS account button.
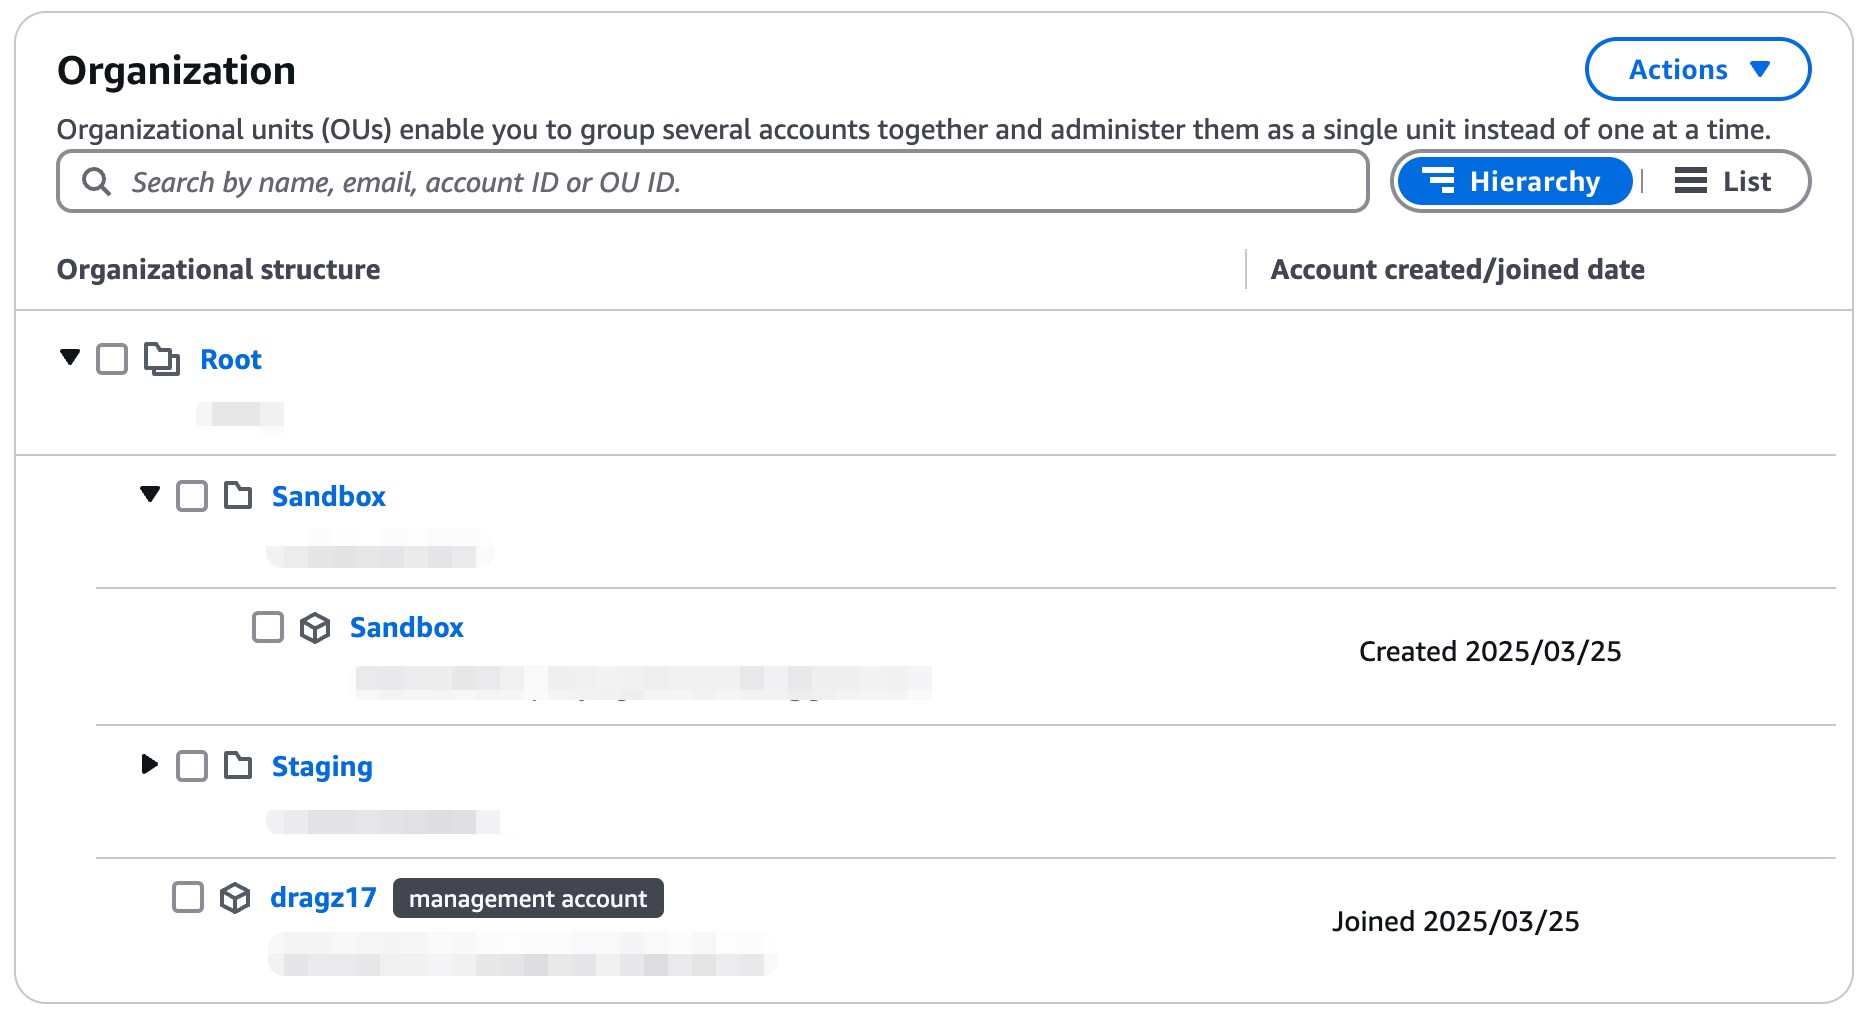
Now, it’s moved to Sandbox Organizational Units (OU).
Applying Service Control Policies (SCPs)
Service Control Policies (SCPs) are organizational policies that allow or restrict actions across AWS accounts within AWS Organizations. Unlike IAM policies, SCPS don’t grant permissions but only set boundaries on what actions are allowed.
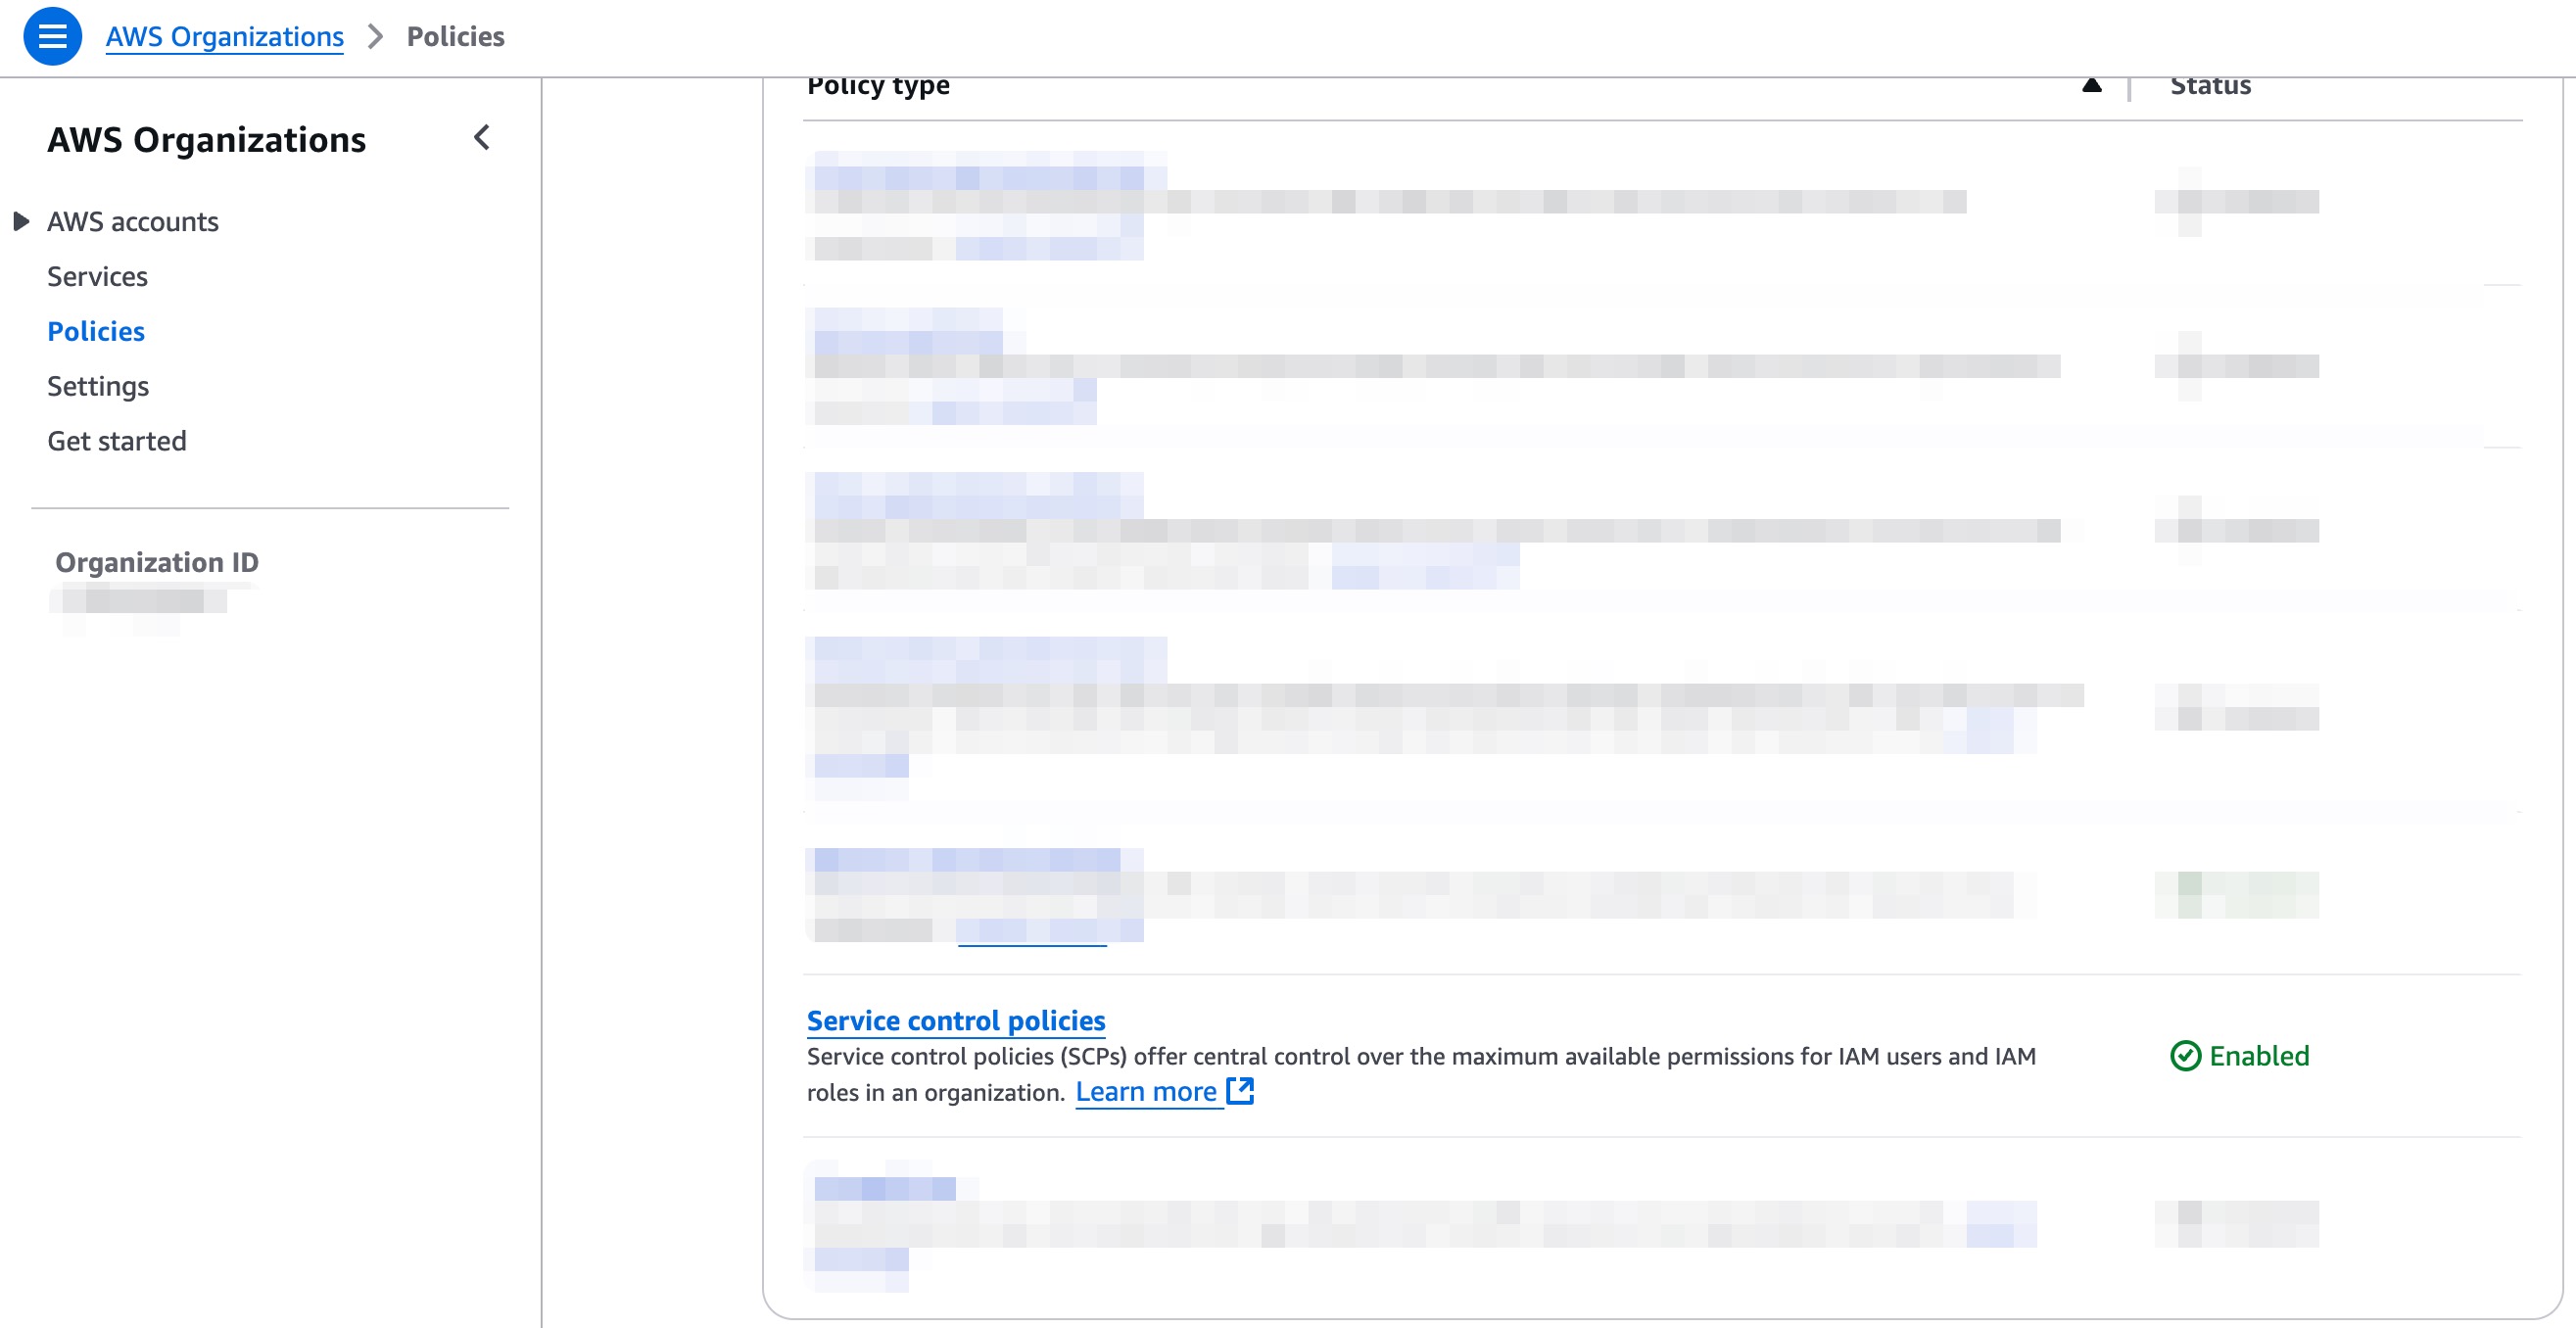
We need to enable the policies first.
And create a new policy to enforce the security best practices. For example, prevent public S3 buckets.
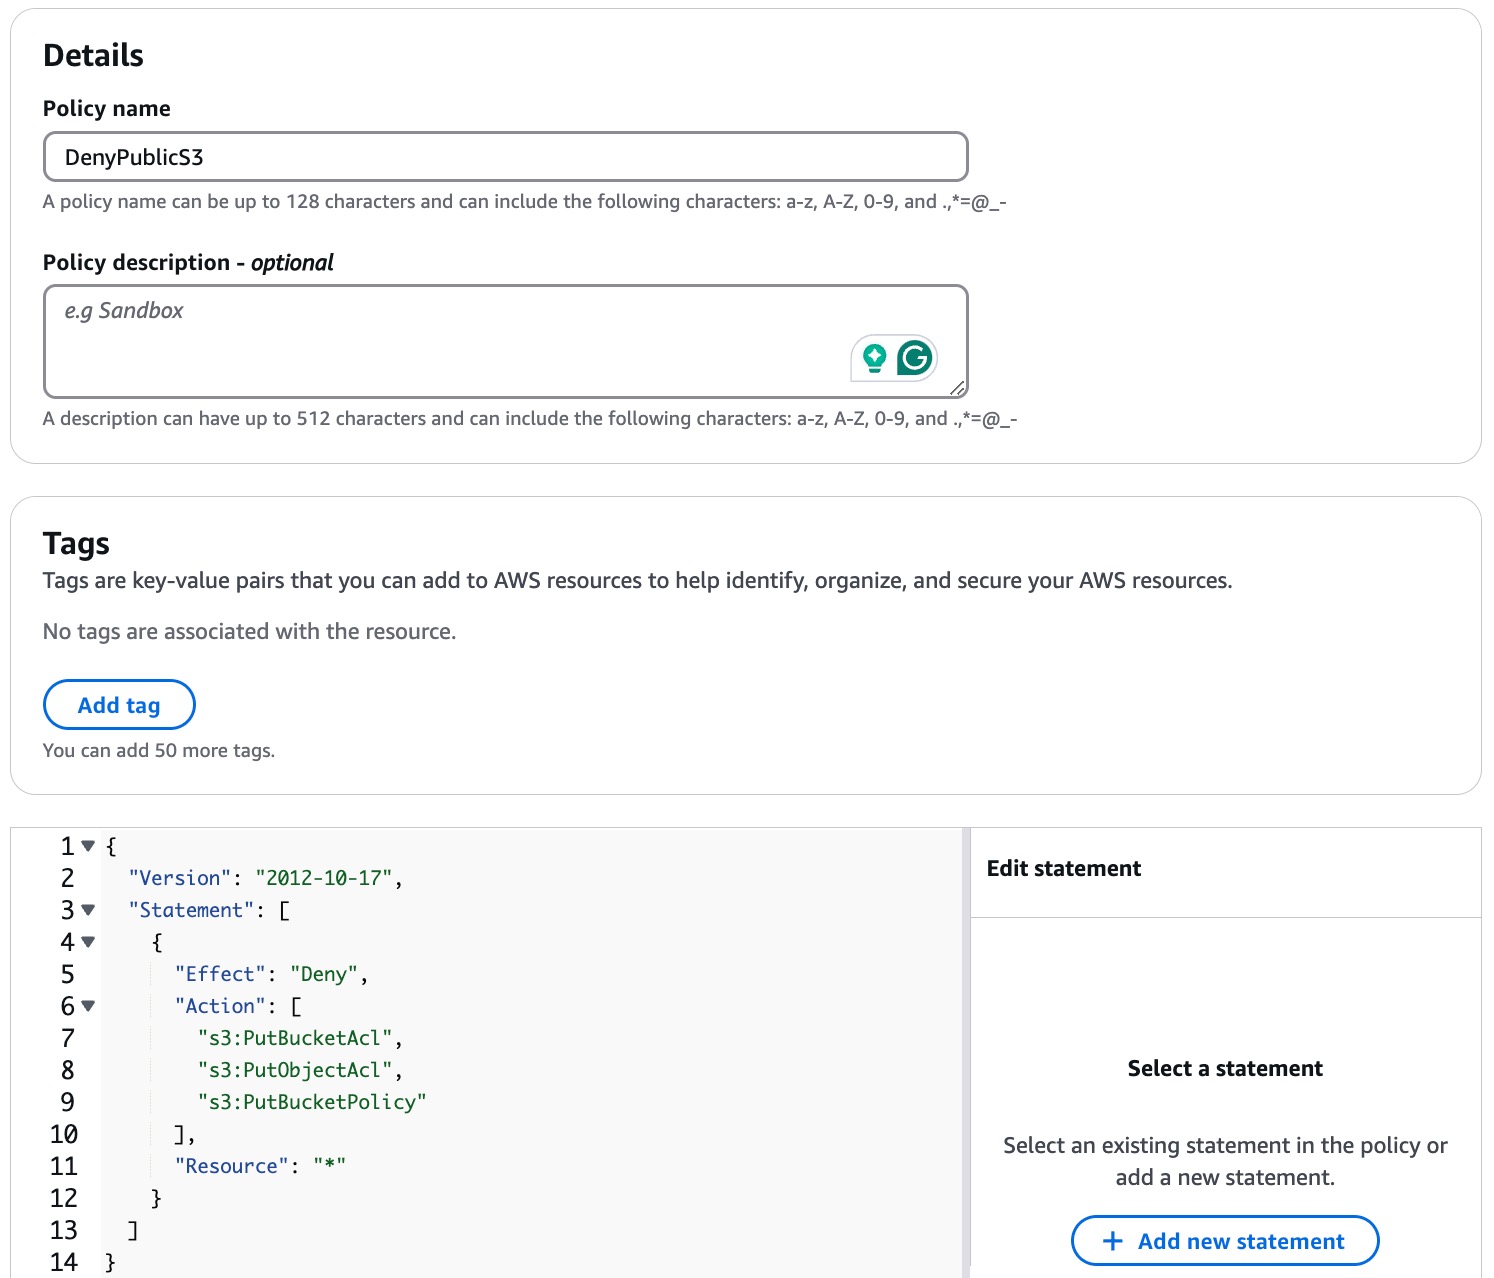
We will create new policy with name DenyPublicS3.
| { “Version”: “2012-10-17”, “Statement”: [ { “Effect”: “Deny”, “Action”: [ “s3:PutBucketAcl”, “s3:PutObjectAcl”, “s3:PutBucketPolicy” ], “Resource”: “*” } ] } |
Then the policy will be created. We can attach it by ticking “DenyPublicS3” policy and go to Actions → Attach policy
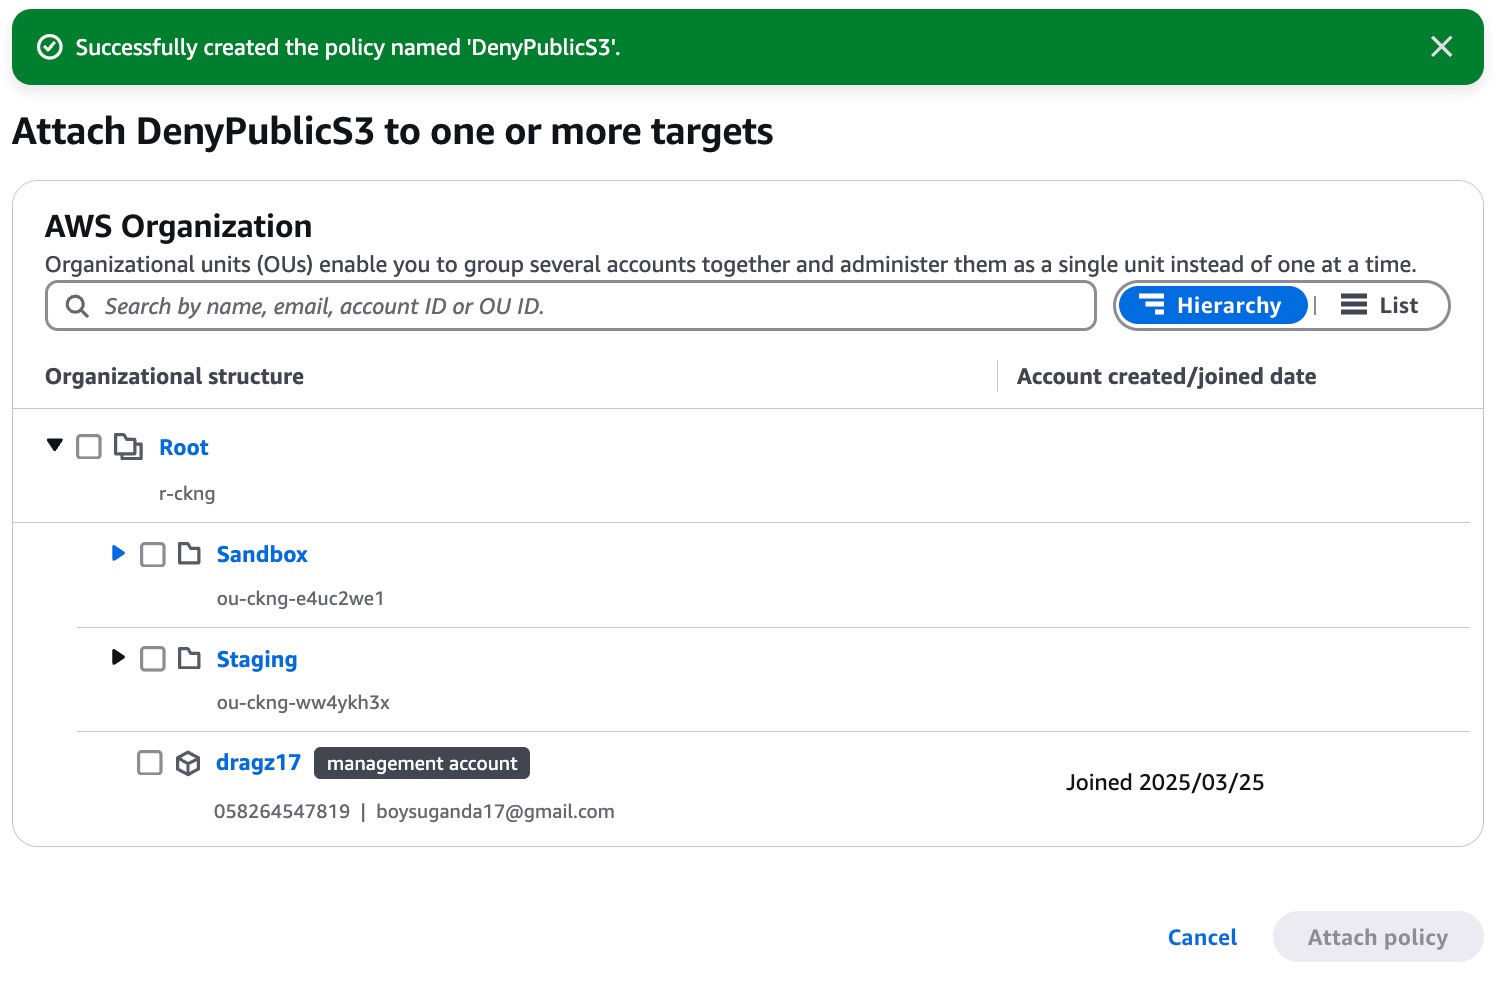
Select Target and Attach Policy, it will be attached to specific destination.
Conclusion
AWS Organization simplifies multi-account management by providing the centralized governance, security and cost optimization. We have learned about these:
- Created an AWS Organizations, to manage multiple AWS accounts under a single entity
- Added new accounts or invited existing AWS accounts into the organization.
- Manage Organizational Units (OU), to structure accounts based on their function.
- Applied Service Control Policies (SCPs), to enforce security best practices.
References
Amazon Web Services (AWS). https://docs.aws.amazon.com/organizations